1.7 KiB
1.7 KiB
title, published, date, updatedDate, description, image, alt, tags, categories
| title | published | date | updatedDate | description | image | alt | tags | categories | ||||
|---|---|---|---|---|---|---|---|---|---|---|---|---|
| 在 Windows 下配置 Fish1 | true | 2025-10-05 | 2025-10-03 | 在 Windows 下配置 Fish | https://img.rhen.cloud/file/Blog/1761401028478_PixPin_2025-10-03_15-44-52.png | 在 Windows 下配置 Fish |
|
|
前言
在经历了 Linux 下一系列的生态折磨后,我最终回归了 Windows 的怀抱。
但是 Powershell 实在是太难用了。所以,Fish,启动!
安装 Fish
依据 Fish 官网,我们有三种方式在 Windows 上安装 Fish:
- 通过 Cygwin 安装
- 通过 MSYS2 安装
- 通过 WSL 安装
作为一个 Arch 用户,肯定是秒选用 pacman 做包管理的 MSYS2。
安装 MSYS2
scoop install msys2
安装完后会提示Please run 'msys2' now for the MSYS2 setup to complete!
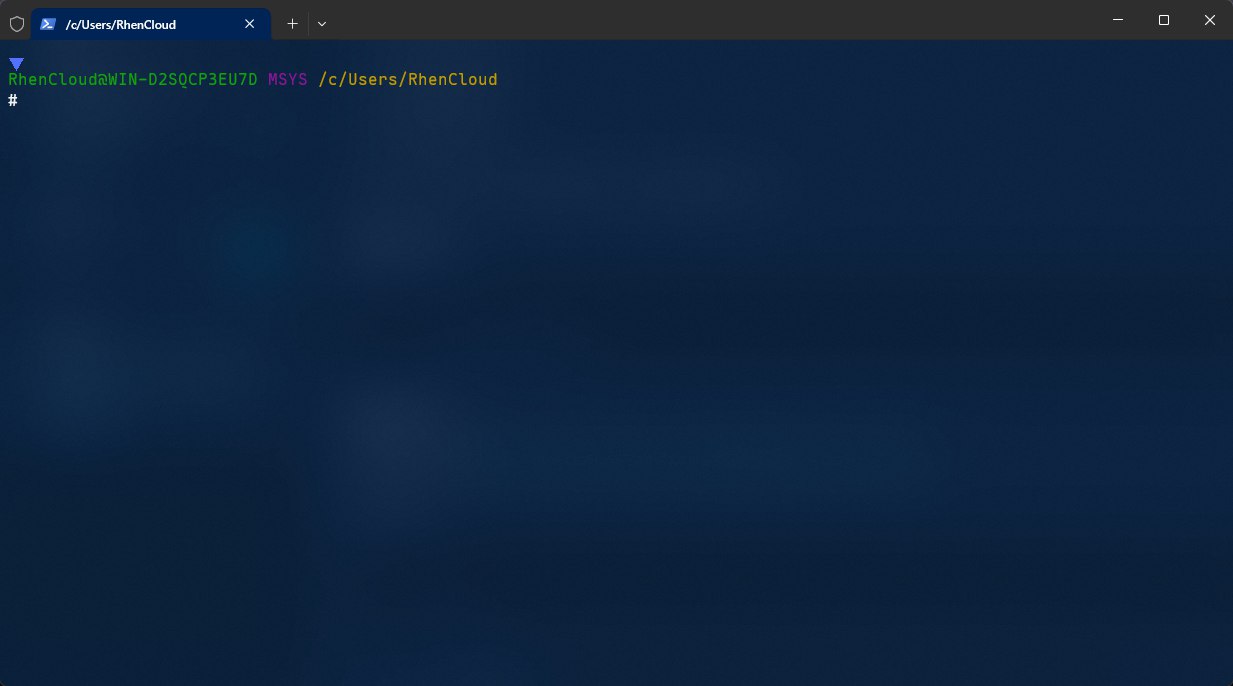
依照提示运行msys2
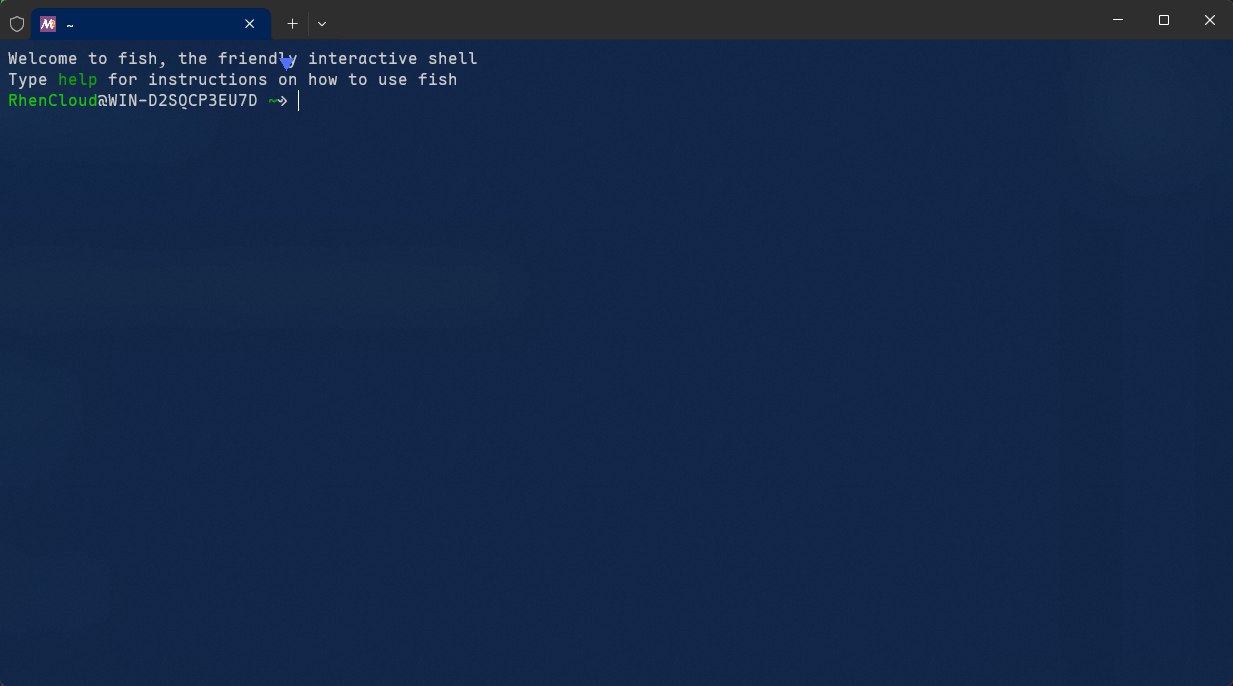
这样就成功进入 MSYS2 的环境了。
配置 MSYS2
更换软件源
在 MSYS2 环境下运行:
sed -i "s#mirror.msys2.org/#mirrors.ustc.edu.cn/msys2/#g" /etc/pacman.d/mirrorlist*
pacman -Syy
更改 home 目录
修改/etc/nsswitch.conf文档
# Begin /etc/nsswitch.conf

passwd: files db
group: files db

db_enum: cache builtin

# db_home: cygwin desc # 修改此行
db_home: /c/Users/%U
db_shell: cygwin desc
db_gecos: cygwin desc

# End /etc/nsswitch.conf
完成,可以愉快的使用 Fish 了!